DIY Christmas Chocolate Covered Pretzel Crisps

Holiday Pretzel Crisps

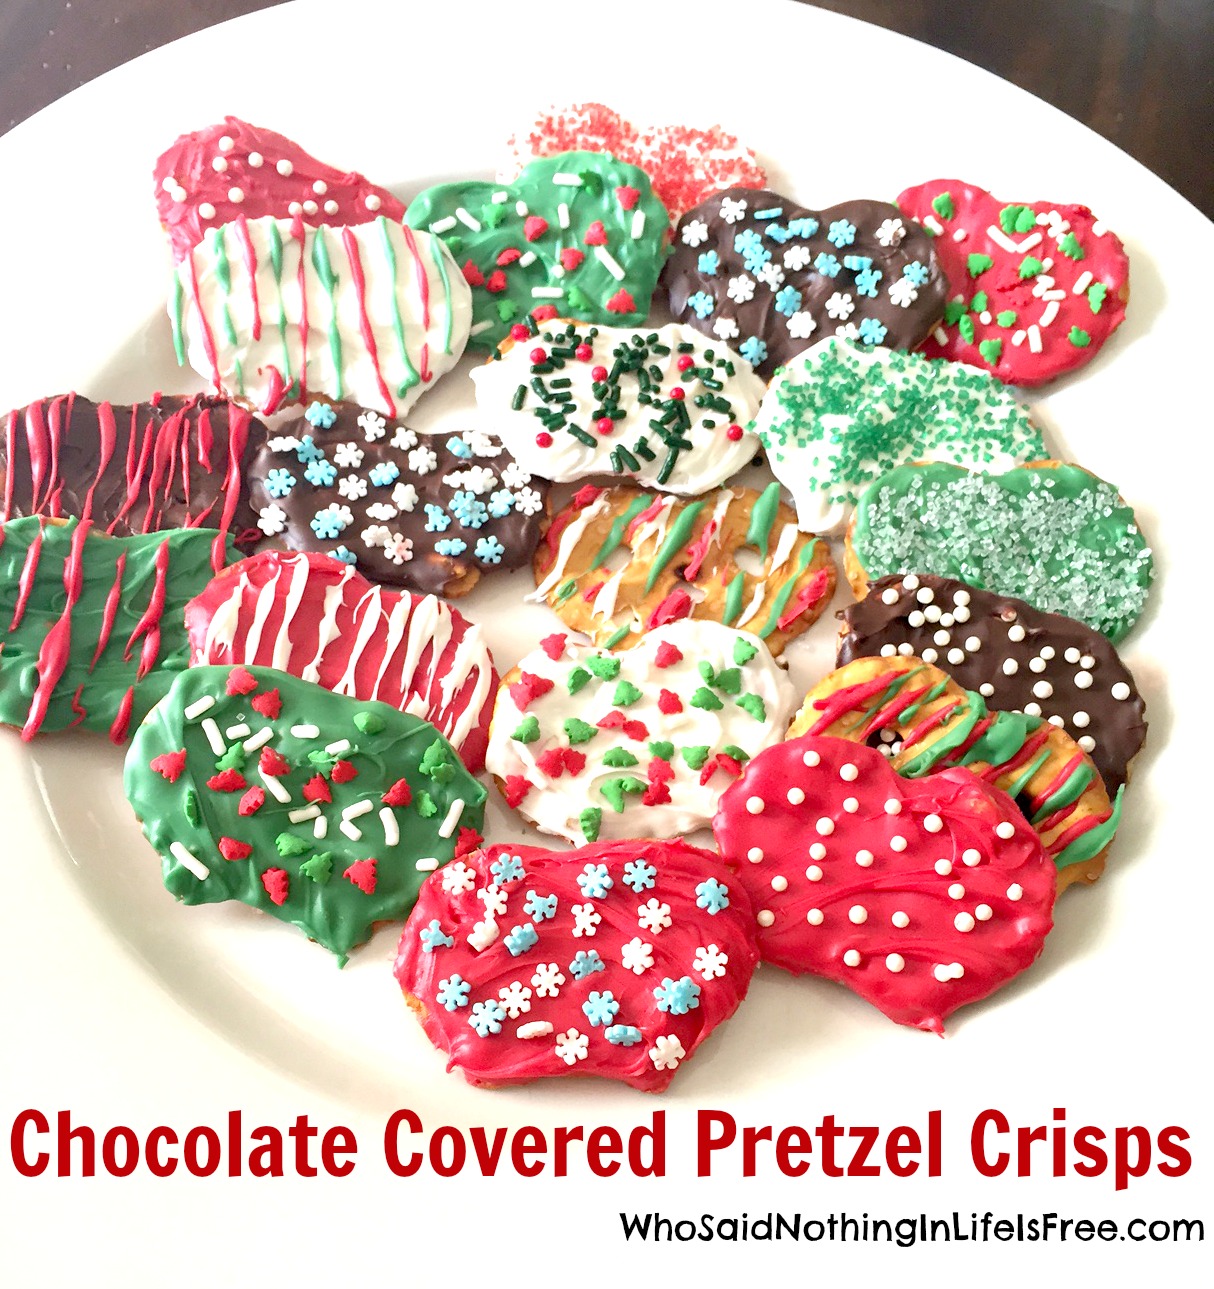
I can’t miss a holiday without making chocolate covered pretzels. This time instead of using Pretzel Rods, I used Pretzel Crisps.

ingred

What You Will Need:

  • Pretzel Crisps (or rods or twists)
  • Wilton Candy Melts in holiday colors
  • Holiday sprinkles and sugars

Directions:

  1. Place the candy drops in a bowl an melt in the microwave for 2-3 minutes at 50% power.
  2. Stir well.
  3. While holding your pretzel, spoon the chocolate over it.
  4. Decorate with sprinkles or sugar or even drizzled chocolate in another color.
  5. Enjoy !

These are sure to be a HUGE hit !!!
If you like this recipe, please Pin it to Pinterest

DIY Teacher Gift – Thanks a Latte with Starbucks Gift Card

IMG_1565

Here is a cute idea to give to a teacher or anyone in your life that loves Starbucks.

What you need…

  1. White Card Stock
  2. Brown Card Stock
  3. Printer
  4. Envelope
  5. Paper Crimper
  6. Starbucks Gift Card
  7. Baker’s Twine (I got mine in the dollar section at Target)
    FullSizeRender (7)

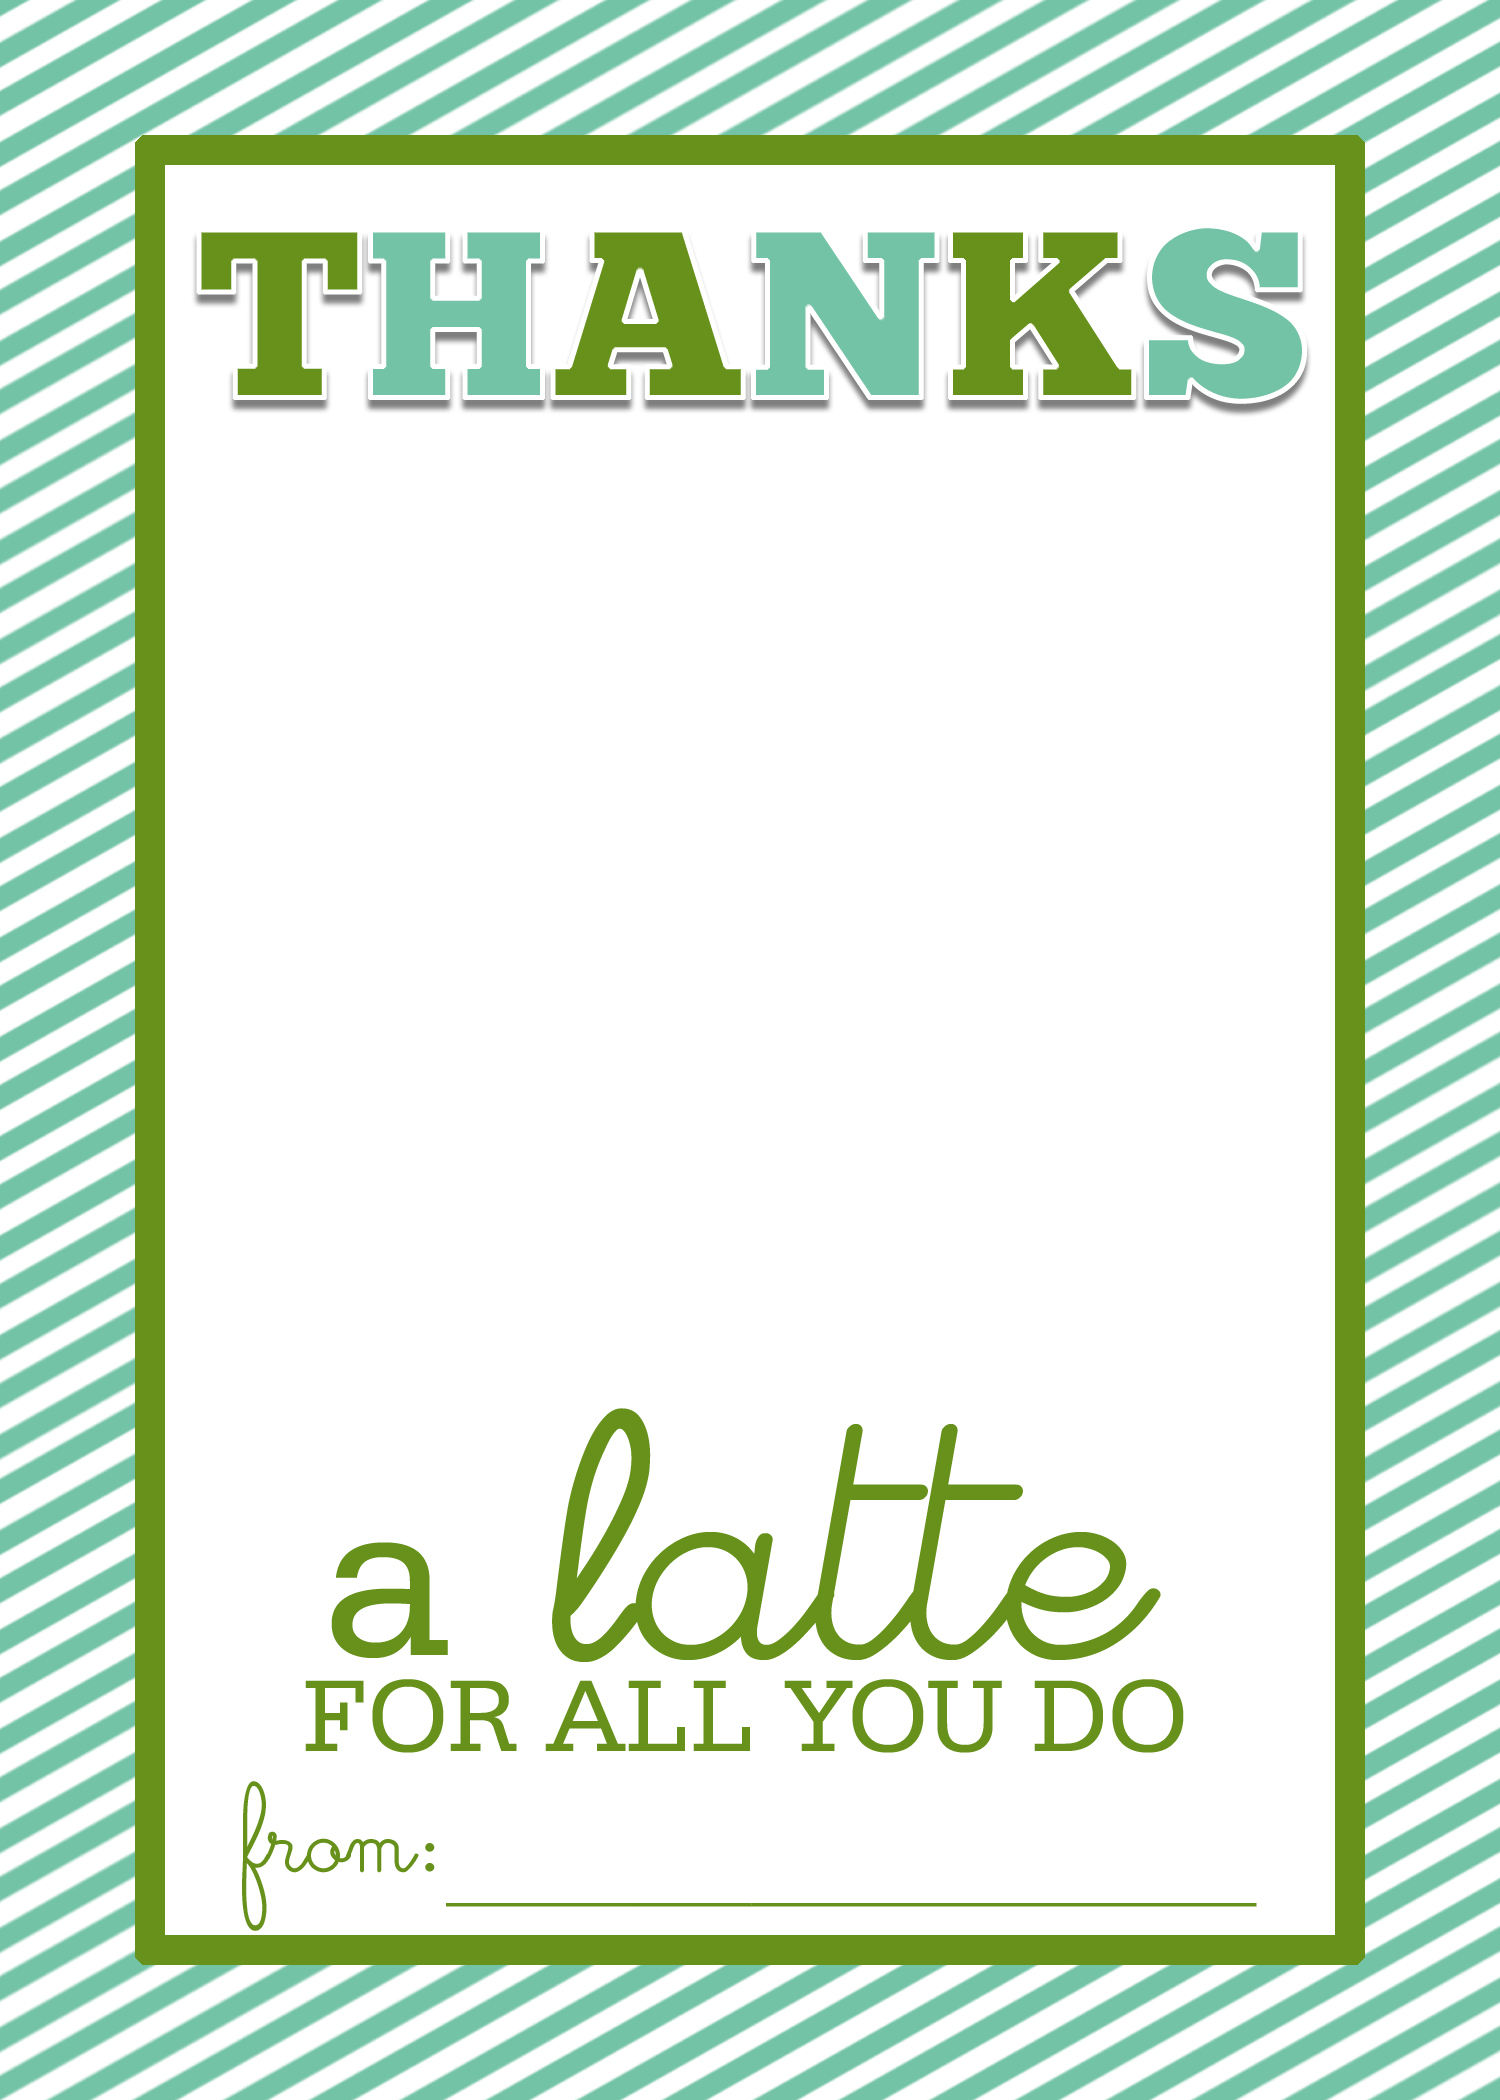
To make this card, first print the “THANKS a latte” design by clicking on the photo below (print it 5×7) or go HERE to download it.

thanksalatte5x7

FullSizeRender (31)

Next take your brown card stock and cut a rectangle strip and send it through the crimper.  Cut it so it fits between the border of the card.  Now glue it down on each of the sides and the bottom leaving the top open to add the gift card.

Wrap the Baker’s Twine around the card a few times and tie a bow.  Add in your Starbucks gift card and sign your name.  Super easy and so cute !

If you like this project, please pin it to Pinterest.

DIY Treat Box and Kcup Holder Box Using a Cricut Machine

DIY-Treat-Boxes-Cricut

Last night I was up way too late playing around with my Cricut machine and decided to make a couple teacher gifts.  Cricut had the cutest designs for a Treat Box and K-cup holder box and I just fell in love with them.

What You Will Need:

For the DIY Treat Box, this design takes 2 sheets of cardstock and I used a clear transparency sheet for the window.  Once you cut out each design from your card stock, you will fold along the scored lines to create the box shape.  Then use your Xyron Mega Runner to apply adhesive to the tabs to hold the box in place.   I personally like using a Xyron runner better than other adhesives because it is so easy to accurately apply a strip of acid-free permanent adhesive to your project.  In fact the adhesive in the Xyron Mega Runner is 2x stronger than their previous version so you know it will “stay stuck” after its applied.

The next step is to apply adhesive inside the bottom of the lid and set your Vellum or Transparency sheet inside.  Lastly, fill the box with treats and set the lid on top.

IMG_1536

For the DIY K-Cup Triangle Box, this design takes 3 sheets of cardstock and I decided to use a sheet of Vellum instead of a clear transparency sheet for the window.  Just like with the treat box, after your design is cut, you will fold along the scored lines and use your Xyron Mega Runner to apply adhesive to the tabs.  Next, apply adhesive to the underside of the lid and lay your vellum or transparency sheet inside.  Lastly, you will place the section with the circle cut outs down into the bottom of the box, place your K-cups in and set the lid on.

IMG_1510

The price on making this box set is under $10 and is unique and special because its handmade.  I will add a cute tag to it (maybe a smaller version of the Christmas tree cut out would be perfect) and have Kyle give a set to each teacher.

If you like this project, please pin it to Pinterest

DIY Cookies for Santa Plate & Milk Bottle

DIY-Cookies-for-Santa-Plate

Even though my kids are getting too old to leave out a Cookies for Santa plate, I wanted to make one with my Silhouette Machine for the little boy that lives next door.  And knowing that Santa would be thirsty after eating his cookies, I also made a bottle to fill with milk.

**Total cost of this project is under $5

What you will need:

  • Clear Glass Plate (I found this 10 inch plate for $1.50 at Walmart)
  • Glass Milk Bottle (I got mine from Oriental Trading but Michaels also sells them)
  • Red and White Silhouette Vinyl (you could do it with all red if you didn’t have white)
  • Ribbon to tie around the milk bottle (I got mine from the dollar spot at Target (it was a 4-pack for $1)

For the plate, you will need to mirror the words so you can place the vinyl under the plate.  This way you can wash it once Santa is done eating the cookies.  Also you will need to look up how to do curved words if you don’t know how already.  Its very simple once you watch someone do it on YouTube.  NOTE: Make sure to use permanent vinyl so that it won’t peel up when it gets wet.

You can make this plate even cuter by personalizing it with your child’s name

IMG_1168

Do you leave out a plate of cookies for Santa?  What kind of cookie does Santa like the most?

If you like this project, please pin it to Pinterest

DIY Christmas Countdown Charger Plate

diy-countdown-christmas-charger-plate

Here is a super easy project to do with your Silhouette Cameo or Cricut Expore machine that costs less than $5.  This DIY Christmas Countdown Charger Plate is such a fun way to get kids excited about Christmas coming up.

What you will need:

Steps to Make the Plate:

FullSizeRender (33)

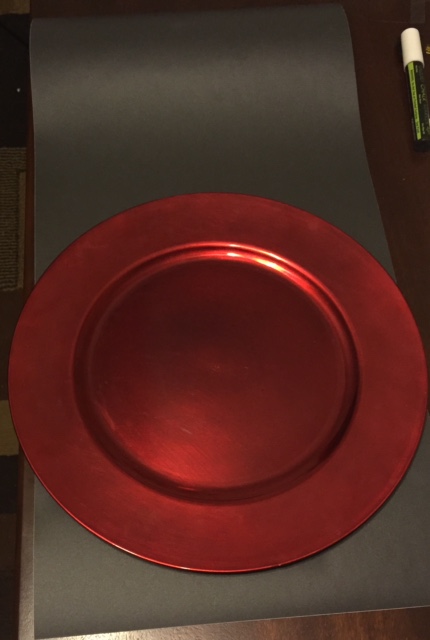
1.) Measure your charger plate to see what size circle you need to cut the chalk board vinyl

2.) Using a Cricut or Silhouette machine (or even cutting by hand), cut the circle (mine is a 7 inch diameter)

3.) Peel off the backing on the Chalkboard Vinyl and place it in the center of the charger plate

FullSizeRender (34)

4.) Next using a Cricut or Silhouette machine, cut the words Christmas Countdown out of white permanent vinyl (if you don’t have a cutting machine and want to make this plate, you could buy pre-cut sticker letters).  You might need to watch a video on how to do curved words for your machine (its really not hard at all once you see how to do it)

5.) Using transfer paper, peel the words from the vinyl backing and place it down onto the plate (this way you won’t have to lay each letter down one by one)

6.) Tie a bow out of the ribbon and use hot glue to attach it to the top of the charger plate

7.) Using chalk or a liquid chalk marker, write how many days left until Christmas (obviously this will change daily).

IF YOU LIKE THIS PROJECT, PLEASE PIN IT TO PINTEREST